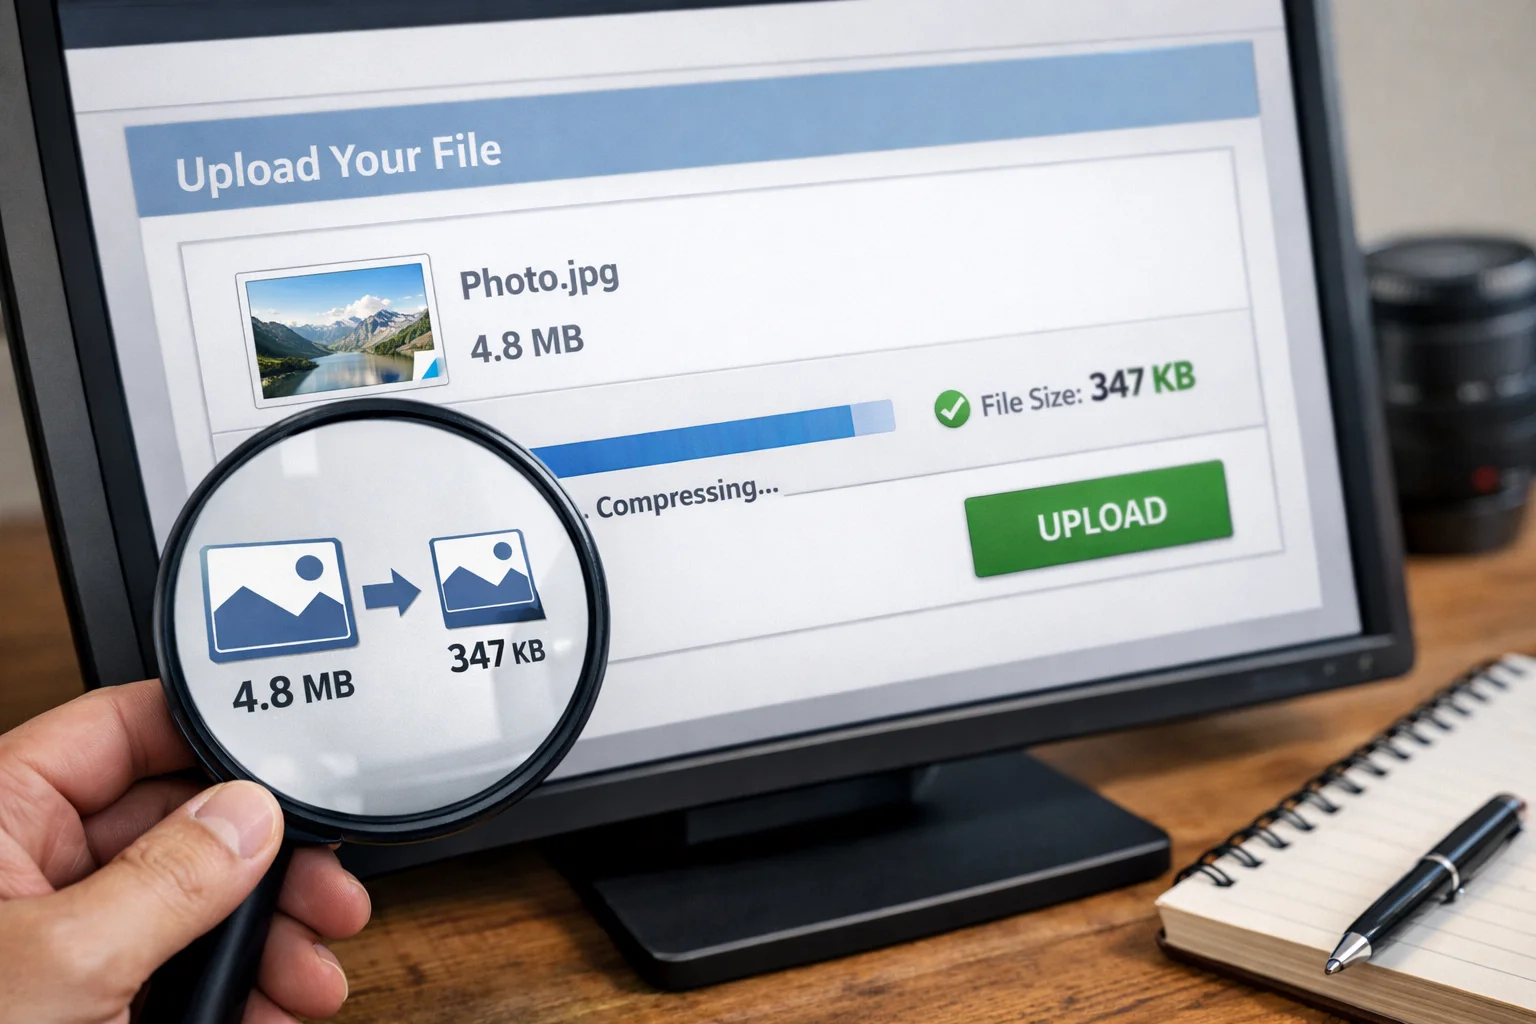
How to Compress an Image for Online Forms (Simple Step-by-Step Guide)
Online forms often reject images because the file is too large, the format is not supported, or the dimensions are incorrect. This happens a lot with job applications, visa forms, university portals, bank KYC, government sites, and even simple contact forms. The problem is frustrating because you may have the right photo, but the website keeps showing an error like “file size exceeds limit” or “upload failed.”
This guide shows you how to compress an image for online forms in the easiest way, without making it blurry. You will learn the best file sizes to target, which format to use, and how to fix common errors like “invalid file type” or “image too big.” I will also share a quick workflow you can repeat every time, plus FAQs that answer the questions people search most.
Why online forms reject images
Most online forms have strict upload limits to keep their servers fast and secure. When your image is bigger than the allowed limit, the form rejects it. Some forms also block certain formats or require specific dimensions.
Here are the most common reasons an image fails to upload.
- File size is above the limit (example: 2 MB allowed but your file is 6 MB)
- Wrong format (example: WebP uploaded but portal only accepts JPG or PNG)
- Image dimensions are too large (example: 4000px wide camera photo)
- File name has special characters (example: “my photo (final)!!.jpg”)
- Slow internet or mobile upload issues
Best image size for online forms
Different portals use different limits, but many follow similar ranges. These targets work for most users.
- Passport size photo upload: 20 KB to 100 KB
- CNIC or document photo: 100 KB to 500 KB
- Signature image: 10 KB to 50 KB
- Profile photo for applications: 50 KB to 200 KB
If your portal is very strict, use a size-based tool. For example, if it needs a very small file, use:
Compression vs resizing
Many people try compression only, but resizing often gives the biggest file size reduction.
Resizing means reducing the width and height (pixels). Compression means reducing file weight (KB/MB) while keeping the image looking natural.
- Resize first to the correct dimensions
- Compress second to meet the KB limit
- Export in the right format (JPG is often best for photos)
Step-by-step: How to compress an image for online forms
This workflow works for almost every form upload. Follow it in order.
Step 1: Check the form requirement
Look near the upload button. Many forms mention “Max size” and “Allowed formats.” If it says “JPG only,” do not upload PNG or WebP.
If the form does not show requirements, open the “Help” or “Instructions” area. If still unclear, start with JPG under 200 KB.
Step 2: Fix the file name
Some government or old portals fail when file names have spaces, brackets, or special characters.
Rename the file like this: passport-photo.jpg or cnic-front.jpg.
Step 3: Resize the image (recommended)
If you are uploading a camera photo, it is usually too large in dimensions. Resize it before compression.
For most online form photos, a width between 600px to 1200px is enough.
Step 4: Compress to the target size
Now compress the resized image until it meets the portal limit. You can do this using MyImageCompressor.
If the portal needs a specific KB size, use the exact tool pages for faster results:
- Compress image to 10KB for signatures or strict portals
- Compress image to 20KB for passport photos and tight limits
Step 5: Verify before uploading
Before uploading, check file size in your device. On Windows, right click and open Properties. On mobile, check details in your gallery or file manager.
Also open the image and zoom in. If text becomes unreadable or the photo looks blurry, reduce compression slightly and try again.
Best format for online forms: JPG, PNG, or PDF
Most online forms accept JPG and PNG. Some accept PDF for documents. For photos, JPG is usually the safest choice because it provides small size with good quality.
- Use JPG for passport photos, profile photos, and most uploads
- Use PNG if the portal needs transparency or if the image is a signature with sharp edges
- Use PDF if the portal requires scanned documents in one file
Common online form upload errors and quick fixes
Let’s fix the issues people face most. These are the exact errors users search on Google.
“File size exceeds limit”
Compress again to a smaller size. If needed, use a strict target tool like Compress image to 20KB.
“Invalid file type”
Convert the file to the required format. Many portals reject WebP. Save as JPG and try again.
“Upload failed” or “Something went wrong”
Rename the file (no special characters), reduce size, and try another browser. Also check your internet connection.
Photo looks blurry after compression
Stop compressing too aggressively. Reduce size in steps. If the portal allows, aim for 80 KB to 150 KB instead of going too low.
Real examples: What size should you use
Here are quick real-world examples so you can pick the right target fast.
- Job portal profile photo: 100 KB to 200 KB
- Visa application passport photo: 20 KB to 60 KB
- University admission form photo: 50 KB to 150 KB
- Signature upload: 10 KB to 30 KB
If your portal says “Max 20KB,” do not waste time guessing. Use the direct tool page: Compress image to 20KB
How to keep quality high even at small KB sizes
Sometimes you must go very low like 10 KB or 20 KB. That is possible, but you need smart settings.
Use these tips to avoid blur.
- Crop extra background (less content means smaller size)
- Resize to a smaller dimension (example: 600px width)
- Use JPG for photos, PNG for signatures
- Do not add filters or heavy edits before compressing
FAQs: How to compress image for online forms
1) What is the best image size for online forms?
Most forms work well with 50 KB to 200 KB for photos. Strict portals may require 20 KB or even 10 KB for signatures.
2) How do I compress an image to 10KB for a signature?
Use a target tool like Compress image to 10KB. Also crop extra white space and keep the signature image small in dimensions.
3) How do I compress an image to 20KB without losing quality?
Resize first, crop unnecessary background, then use Compress image to 20KB. For photos, JPG usually keeps better quality at low KB.
4) Which format is best for online forms, JPG or PNG?
JPG is best for photos because it is smaller. PNG is better for signatures and images with sharp edges, but can be larger.
5) Why does my image still fail even after compression?
It may be the format, file name, or dimensions. Rename the file, convert to JPG, and resize to a smaller width like 800px.
6) Can I compress images on mobile?
Yes. You can compress directly in your browser using MyImageCompressor. It works on mobile and desktop.
7) How do I check image file size before uploading?
On Windows, right click and open Properties. On mobile, open file details or use your file manager.
8) What if the form only accepts a specific KB limit?
Use size-specific tools so you do not waste time. For example, use 10KB or 20KB.
9) Will compressing an image reduce quality?
It can if you compress too much. The best method is to resize first and compress gradually until the image still looks clean.
10) How can I compress multiple images for forms quickly?
If you have many images, use your bulk tool page: Bulk Image Compressor. It saves a lot of time.
Conclusion and next step
Compressing images for online forms becomes easy when you follow a simple workflow: check requirements, resize, compress, and verify quality. Most upload problems are solved by reducing file size and using the right format.
If your form needs a strict file size, do not guess. Use the direct tools to hit the target quickly and upload successfully.