Why My Image Is Still Too Large After Compression? (Real Reasons + Exact Fixes)
You compressed your image, but it is still too large. This is one of the most frustrating problems because it feels like you already did the right thing. Then the upload still fails, your email still rejects the attachment, or the website still shows a heavy file size in KB or MB.
The truth is simple: compression is not one single thing. File size depends on pixels, format, quality settings, transparency, metadata, and sometimes even what tool you used. If you do not fix the real cause, the file can stay large even after “compressing”.
This guide explains the real reasons in a beginner-friendly way, and gives you exact fixes you can apply in minutes. You will also learn a safe workflow (check, resize, convert, compress, verify) that works for most image problems.
Quick Answer: Why My Image Is Still Too Large After Compression?
- Your image dimensions are still huge (too many pixels), so the file stays heavy.
- The format is heavy (PNG photos are often bigger than JPG or WebP).
- You compressed once, but the quality setting is still high.
- The image contains transparency, extra color data, or complex details.
- Metadata (EXIF/GPS) and hidden data can add extra weight.
- Your target limit is very strict (like 20KB or 50KB), so normal compression is not enough.
Before You Fix Anything: Check What “Too Large” Means
People often say “too large” but mean different things. You must identify what is failing, otherwise you will keep trying random methods.
- Upload limit problem: The website says “file must be under 50KB”. That is a KB issue.
- Website speed problem: Your image is 2MB and slows down the page. That is a performance issue.
- Social media problem: The image becomes blurry after upload. That is usually over-compression or wrong dimensions.
- Storage problem: You just want smaller files for saving space. That is normal compression plus format choice.
Start here: open Image Size Checker and confirm the current file size in KB/MB. If you also want to see pixel dimensions, you can use Image Dimension Checker.
Reason 1: Your Image Has Too Many Pixels (Dimensions Are Still Huge)
This is the most common reason. If your photo is 4000 × 3000, it contains a lot of pixel data. Even after compression, the file can still be heavy because the “canvas” is too large.
Example:
- Original: 4000 × 3000, 4.8MB
- Compressed once: 4000 × 3000, 1.9MB
- Required: under 200KB or under 100KB
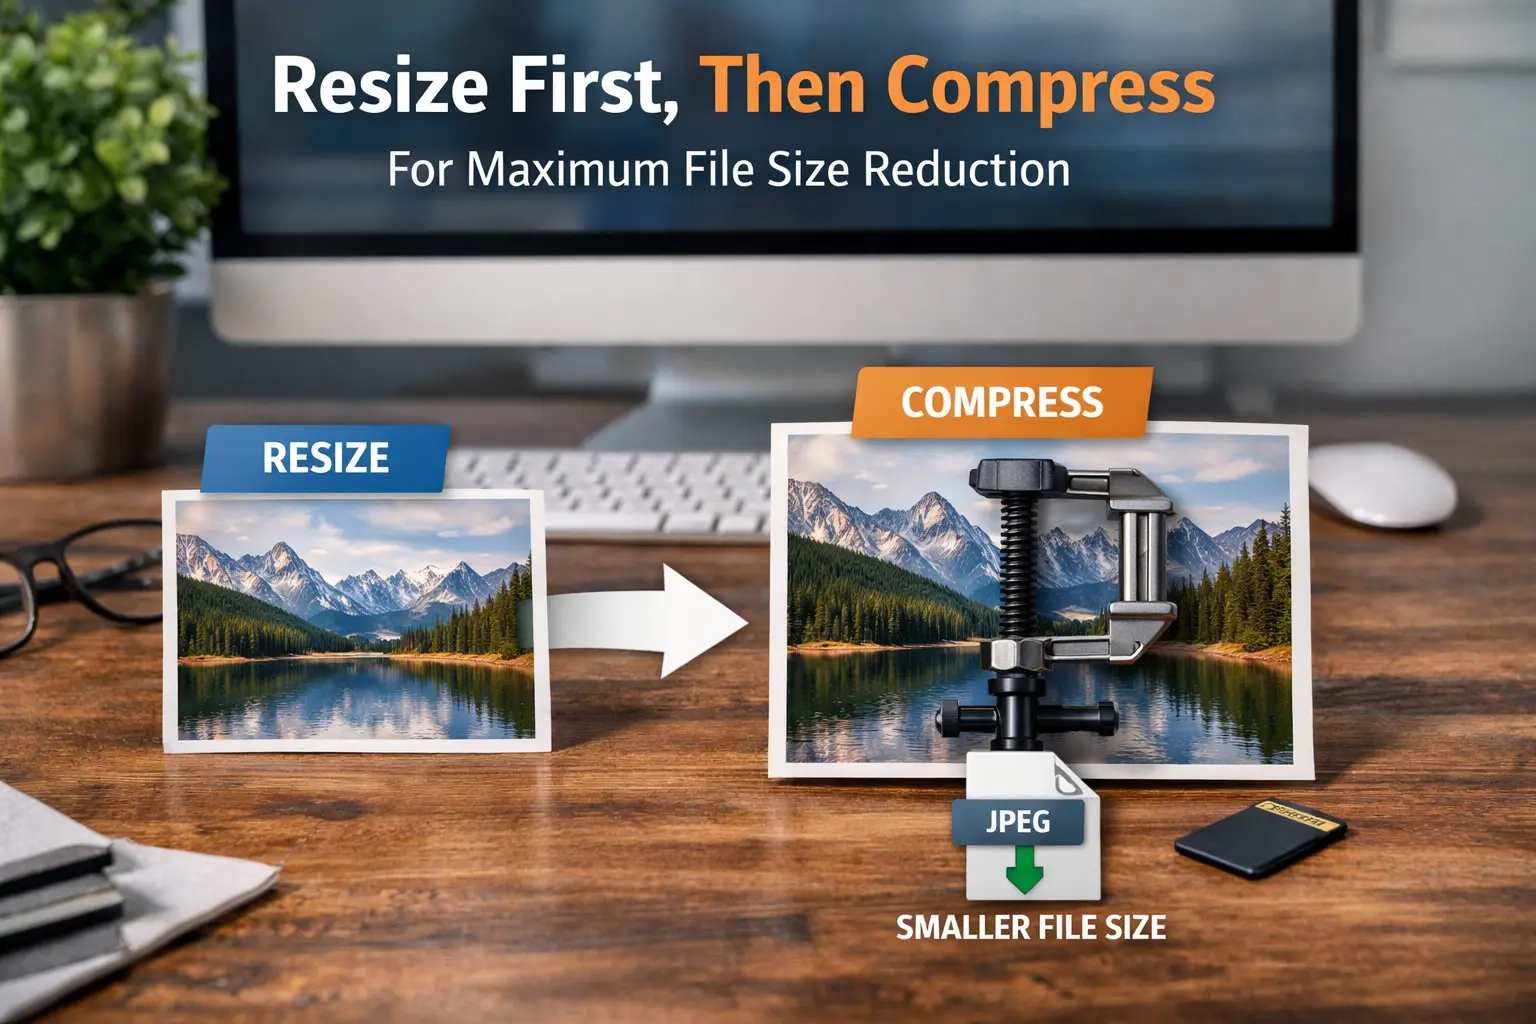
You did compress, but you kept the same pixel dimensions. If you do not need that size, you should reduce pixels first.
Fix: Resize first, then compress
- Open Image Resizer
- Resize to a practical size (for web, 1200px wide is often enough)
- Download the resized image
- Now compress using Image Compressor
Reason 2: The Image Format Is Heavy (PNG Photos Stay Large)
Format matters more than most people realize. PNG is a great format for transparency and sharp edges, but it can be very heavy for photos.
If your image is a photo saved as PNG:
- Even “compression” may not reduce size enough
- The file can stay large because PNG stores data differently
- PNG is lossless by default, which often means bigger size
Fix: Convert format first, then compress
If transparency is not needed, convert PNG to JPG or WebP using Image Format Converter. Then compress again.
- Convert PNG photo to JPG or WebP
- Compress with Image Compressor
- Verify the final size with Image Size Checker
Reason 3: Your Compression Level Is Not Strong Enough
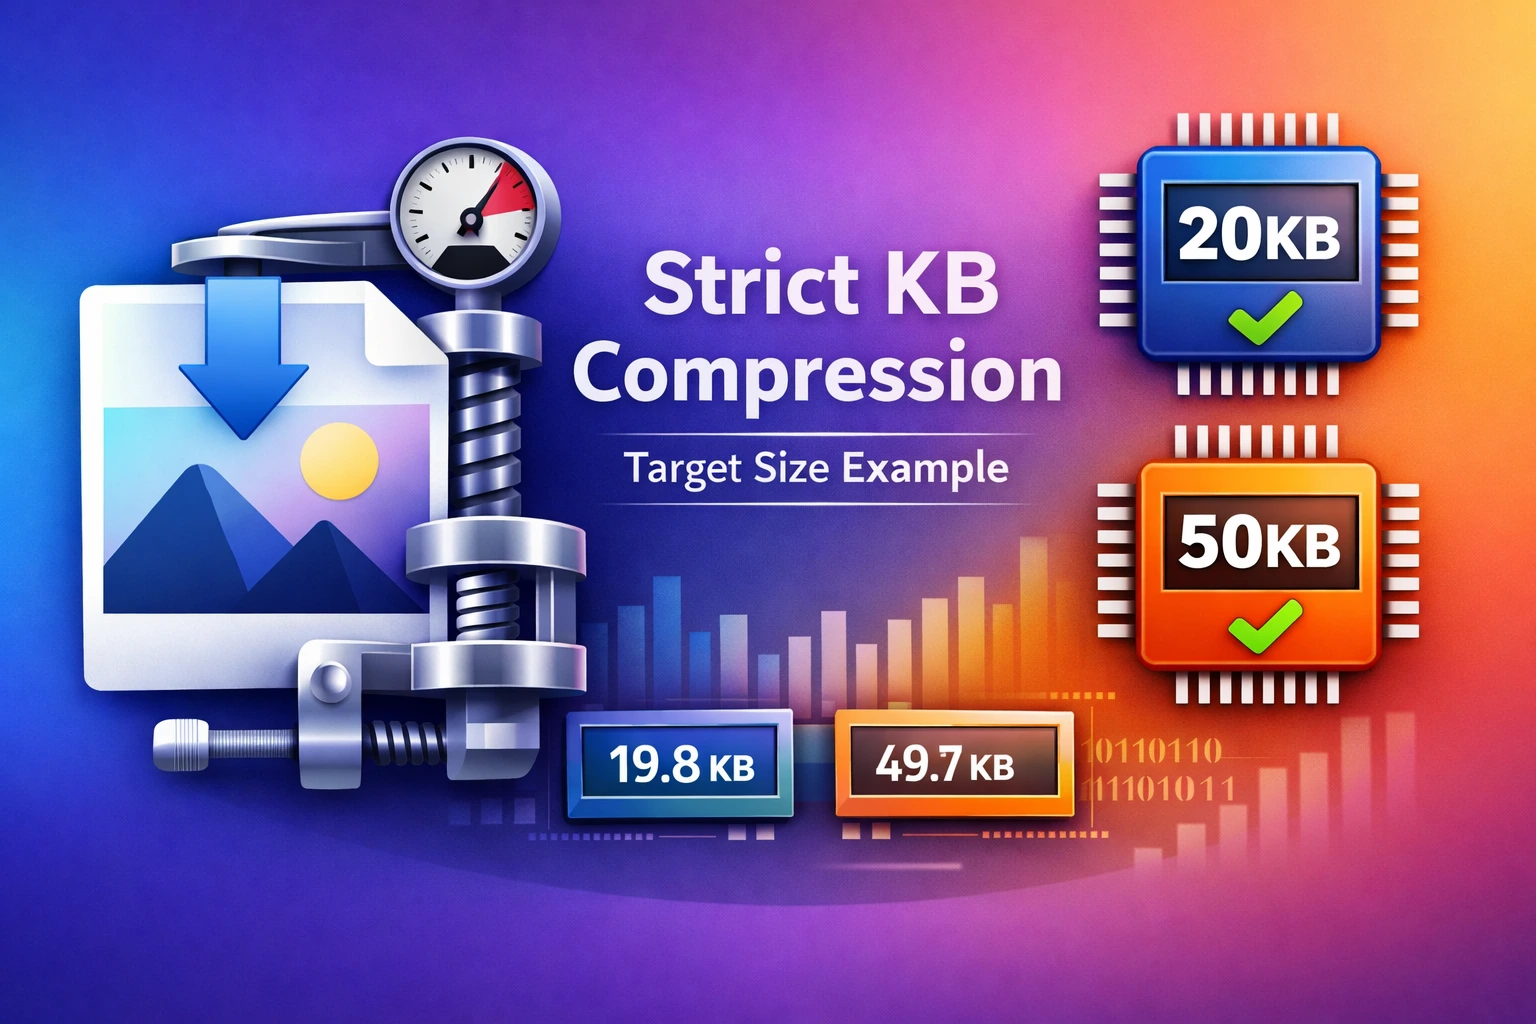
Some tools show a “compress” button but do very light compression to keep quality safe. That is fine for normal use, but it will not meet strict limits like 20KB or 50KB.
This problem appears when:
- A portal requires a strict KB limit
- You need an exact size for a form upload
- Your image contains complex details (lots of texture, noise, trees, patterns)
Fix: Use strict limit compression pages
If your upload requires an exact limit, use the correct target page:
After compression, always verify with Image Size Checker.
Reason 4: Transparency and Alpha Channel Increases File Size
If your image has transparency (common in PNG), it often includes extra data called an alpha channel. That extra data increases size, especially for large images or images with soft transparent edges.
Common examples:
- Logos with transparent background
- Stickers and cut-out images
- Designs exported from Canva or Photoshop as transparent PNG
Fix options
- If transparency is not required, convert to JPG using Image Format Converter.
- If transparency is required, keep PNG but resize pixels and use a lighter version.
Reason 5: The Image Contains Lots of Details (Hard to Compress)
Some images compress easily, some do not. A clean portrait photo often compresses well. But a photo with trees, grass, patterns, and noise contains lots of small details. Compression needs to preserve those details, so the file size stays higher.
Signs your image is hard to compress:
- Landscape photos with many textures
- Photos taken at night with noise
- Complex backgrounds
- Screenshots with tiny text and gradients
Fix: Combine resize + convert + compress
For difficult images, one method usually works:
- Resize to remove unnecessary pixels
- Convert heavy formats if needed
- Compress to target size
If you are unsure about format, use Image Format Converter and test WebP output for web usage.
Reason 6: Metadata (EXIF/GPS) Adds Extra Weight
Metadata is hidden information stored inside images. Many photos include EXIF data like camera model, date, location (GPS), and other details. For most images, metadata is not huge, but it can still add extra KB, and it can also affect privacy.
If you are sharing images publicly or uploading to unknown portals, removing metadata is a smart move.
Fix: Remove metadata before final upload
Use Remove Image Metadata to strip EXIF/GPS and hidden fields. Then verify size again with Image Size Checker.
Reason 7: You Are Compressing the Wrong File (Already Compressed Copy)
This is a hidden issue. If you compress a file that was already compressed (for example, a WhatsApp-downloaded image or a screenshot copy), you may not get much size reduction, or quality may drop quickly while size stays high.
What to do:
- If possible, start from the original image (camera file or original export)
- Resize first, then compress once
- Avoid compressing the same file repeatedly
Reason 8: You Need “Exact KB” But You Are Using a General Compressor
General compression is perfect for reducing images for web, email, and storage. But many forms require strict limits like:
- 20KB for very strict portals
- 50KB for common ID uploads
- 100KB for moderate forms
- 200KB or 300KB for job portals
If your form needs an exact KB, use a dedicated target tool page instead of a general compression page.
Step-by-Step: Fix “Still Too Large” in the Right Order
If you want a repeatable method that works in most cases, follow this exact order:
Step 1: Check file size (do not guess)
Use Image Size Checker to confirm your current KB or MB.
Step 2: Check dimensions (pixels)
If your image is huge in pixels, reduce pixels first using Image Resizer. This is often the biggest win.
Step 3: Convert format if needed
If your file is PNG and you do not need transparency, convert it using Image Format Converter.
Step 4: Compress using the correct goal
Use Image Compressor for general reduction. If you have strict limits, use the correct KB page like Compress Image to 50KB.
Step 5: Remove metadata if sharing publicly
Use Remove Image Metadata if privacy matters or if you want to remove extra data.
Step 6: Verify final file size
Check the final output again. This step prevents upload failure.
Common Real Scenarios (And the Best Fix)
Scenario 1: “My form requires 50KB and my image is 300KB”
Use Compress Image to 50KB, then verify using Image Size Checker. If quality becomes too low, resize dimensions slightly smaller and try again.
Scenario 2: “My PNG logo is 1.5MB”
If it is a logo with transparency, keep PNG but resize it smaller. If transparency is not needed, convert to JPG using Image Format Converter.
Scenario 3: “My photo is JPG but still 2MB”
This usually means very large dimensions or high quality settings. Resize first with Image Resizer, then compress with Image Compressor.
Scenario 4: “I compressed but it looks blurry”
Do not compress harder. Instead, resize to a reasonable pixel size and compress gently. If you are sharing on social media, avoid extreme compression because platforms compress again.
Best Practices to Avoid This Problem Next Time
- Always check size first using Image Size Checker
- Resize unnecessary pixels before heavy compression
- Use JPG/WebP for photos, PNG for transparency and logos
- Use strict KB pages when a form has a strict limit
- Remove EXIF/GPS for privacy using Remove Image Metadata
- Do not re-compress already compressed files again and again
FAQ: Why My Image Is Still Too Large After Compression?
1) Why is my image still too big after compressing?
The most common reasons are large pixel dimensions, heavy format (like PNG), and strict KB limits. Start by checking size, then resize pixels, then compress again.
2) Should I resize first or compress first?
If your image is very large in pixels, resize first using Image Resizer. Then compress. This usually gives better results with less quality loss.
3) Why does PNG stay large even after compression?
PNG is lossless and may include transparency, which keeps files heavy. If transparency is not needed, convert to JPG or WebP using Image Format Converter.
4) How can I compress an image to exactly 50KB?
Use a strict limit page like Compress Image to 50KB and verify the final size using Image Size Checker.
5) Will compressing more always reduce file size?
Not always in a useful way. Past a point, quality drops a lot while size reduces slowly. That is why resizing and format conversion often solve the problem faster.
6) Does removing metadata reduce file size?
It can reduce a small amount of size and improves privacy, but it will not solve big size problems alone. Use Remove Image Metadata as a cleanup step.
7) Why does my image look blurry after I compress it?
It usually means compression was too aggressive or the image was already compressed before. Resize to a practical pixel size and compress gently. Avoid re-compressing repeatedly.
8) What is the fastest workflow that works for most cases?
Check size, resize pixels if needed, convert heavy formats, compress to goal, and verify. This method solves most upload errors without guesswork.
Conclusion
If your image is still too large after compression, it does not mean compression “failed”. It means the real cause is somewhere else: too many pixels, heavy format, strict KB requirement, transparency, or a file that is hard to compress.
Use a repeatable workflow instead of guessing: check size, resize, convert if needed, compress to the correct target, and verify. Once you follow this process, upload errors and “too large” problems become much easier to solve.