Why Your WordPress Website Is Slow (Image Optimization Guide)
Is your WordPress website slow, especially on mobile, even though your hosting is “fine”? In most cases, the real issue is not WordPress itself. It is unoptimized images. Big hero banners, featured images, and heavy PNGs quietly increase page weight and delay the first meaningful paint.
This guide is for bloggers, business owners, and WordPress users who want a faster website without touching complex code. You will learn why images slow WordPress down, how to fix the most common image mistakes, and a step by step workflow you can follow on every upload. The goal is simple: improve speed, user experience, and rankings.
Quick Answer
- Resize images to the maximum size your theme actually displays, usually 1200px to 1600px wide.
- Convert heavy images to WebP whenever possible.
- Compress your images before uploading to WordPress.
- Keep most blog images under 200KB, and featured images ideally 150KB to 300KB.
- Lazy load images below the fold, and avoid huge PNGs for photos.
Why this problem happens
WordPress makes it easy to upload images. That is great for publishing. But it also makes it easy to upload images that are too large, too heavy, or in the wrong format.
Many people upload camera photos directly. These images are often 2MB to 8MB. Sometimes even larger. WordPress will generate thumbnails, but the original file may still be used as the main image depending on your theme.
Another common issue is using PNG for photos. PNG is excellent for transparency and crisp UI graphics. But for photos, PNG is usually huge. That makes pages heavy and slow.
Why uploads fail or feel “stuck”
Sometimes WordPress uploads fail or take too long. That can happen when images are extremely large or your server has limits. Even when the upload succeeds, the page becomes slower because the browser must download those heavy files.
Why file size doesn’t reduce inside WordPress
WordPress can resize images into different sizes, but it does not always compress them aggressively. Many themes also use the original image for certain sections. That is why you should optimize before uploading.
Step by Step Guide: Fix WordPress Slowness with Image Optimization
Step 1: Identify your biggest images first
Start by checking your slow pages. Usually, the homepage, blog posts, and landing pages are the heaviest. Open one slow page and look at the images used in the hero section, featured image, and mid-content.
If you want a quick proof, open Google PageSpeed Insights and test your page. Large images often show up as “properly size images” or “serve images in next-gen formats.”
Official reference: Google PageSpeed Insights
Step 2: Resize images to match your theme
Resizing is the easiest speed win. If your theme shows images at 1200px wide, you do not need a 3000px image. That extra pixel data is wasted and slows down loading.
Practical sizing targets that work for most WordPress themes:
- Blog content images: 900px to 1200px wide
- Featured images: 1200px to 1600px wide
- Hero banners: 1600px to 1920px wide, only if you truly need full width
Step 3: Choose the right format (WebP, JPG, PNG)
Format selection matters. It can reduce file size more than compression alone.
- WebP: Best for most website images. Smaller size, good quality.
- JPG: Good for photos if WebP is not available.
- PNG: Use only when you need transparency or sharp UI edges.
If you want, you can link this post to your format guide later. Format comparisons are very searchable and help internal linking.
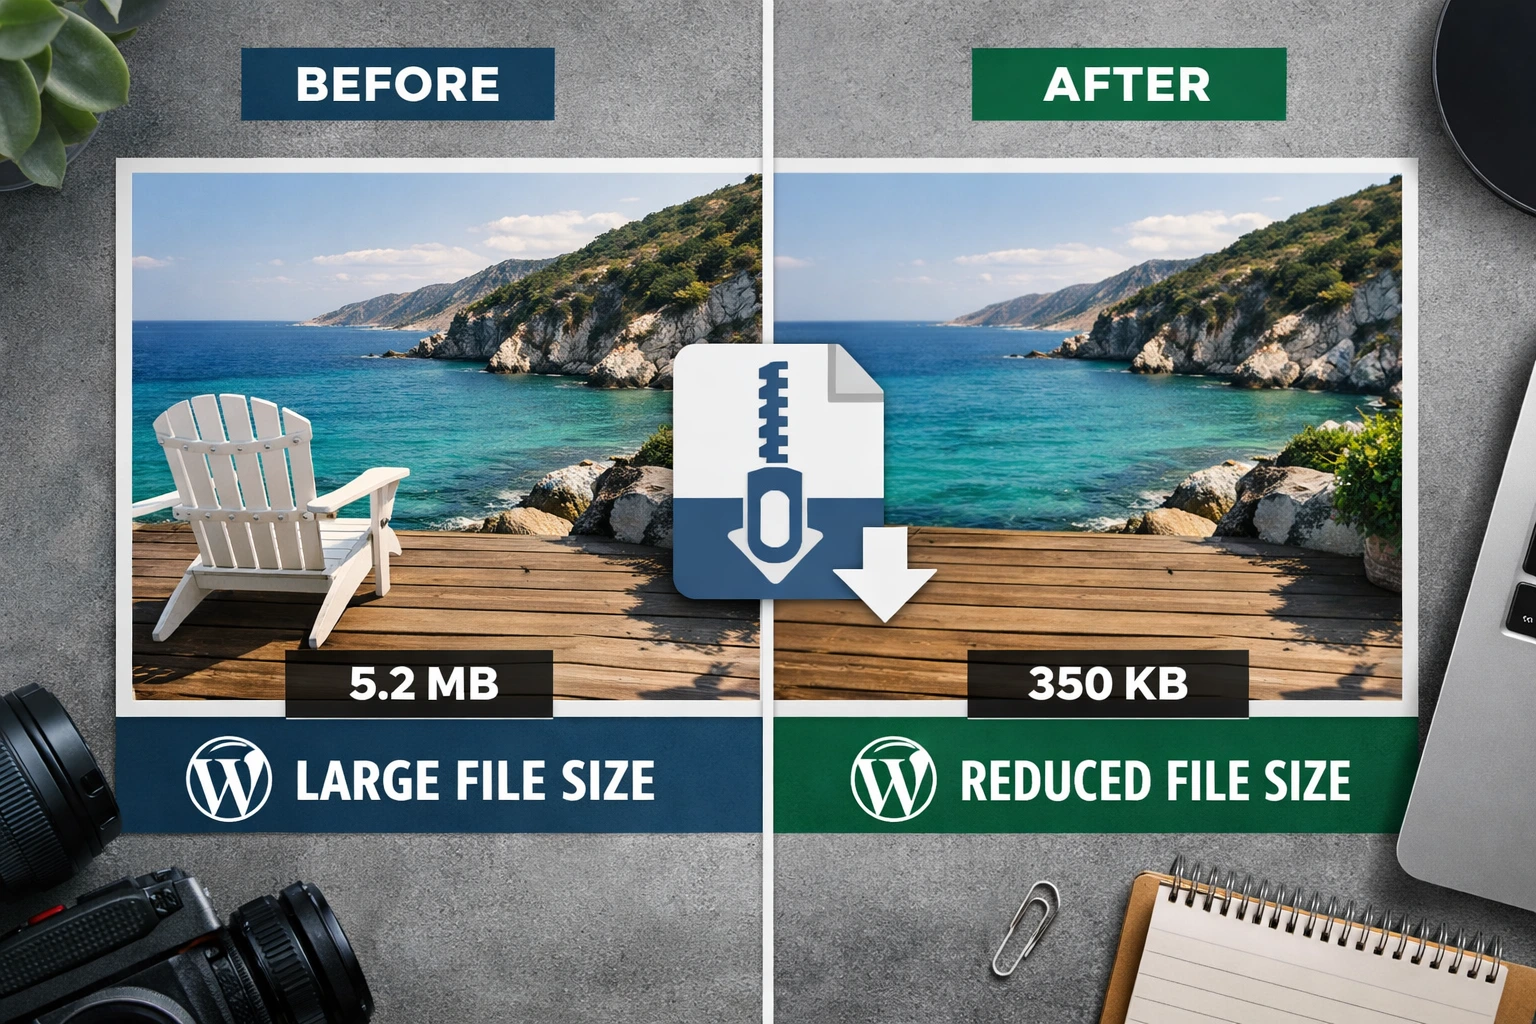
Step 4: Compress images before uploading to WordPress
This is where most sites improve immediately. Take your resized image and compress it before uploading. A good compressor reduces file size while keeping the image looking natural.
You can compress quickly using MyImageCompressor. It is a simple workflow. Upload, compress, download, then upload the optimized file to WordPress.
Step 5: Use targeted KB pages when you need exact limits
Many users need specific sizes for forms, portals, and uploads. WordPress sites also use images in contact forms, profile uploads, and checkout flows. When you have a strict limit, use your size-specific pages.
Step 6: Optimize multiple images in one go
If you are fixing an old WordPress site, you might have dozens of images that need improvement. In that case, compress them in batches and upload the optimized versions back into WordPress.
For bulk tasks, use your Bulk Image Compressor to speed up the process without manual repetition.
Step 7: Use lazy loading for below-the-fold images
Lazy loading means images load only when the user scrolls near them. WordPress supports lazy loading in many cases by default, but themes and builders can override it.
Make sure images below the fold do not block the first screen. Your first screen must feel fast. That is where users decide if they stay.
Official reference: Web.dev guidance on LCP
Common Errors & Fixes
Error: Image is still too large after compression
This usually happens when the image dimensions are too big. Compression reduces file size, but it cannot fix wasted pixels.
Fix: Resize first, then compress again. Also try WebP if you are still using PNG or JPG.
Error: Image looks blurry after compression
Blurry images happen when compression is too aggressive or when you compress text-heavy screenshots.
Fix: Reduce compression slightly. For screenshots with text, use a higher quality setting or consider PNG for small UI parts and WebP for full screenshots.
Error: WordPress is still rejecting the file
This can happen due to file type restrictions, server upload limits, or plugin settings.
Fix: Try a different format like JPG or WebP. Also check your upload size limit in your hosting control panel. If the requirement is “must be under 100KB,” use your size-specific page like Compress image to 100KB.
Error: Website is slow even after compressing images
Images are often the biggest issue, but not the only one. Heavy fonts, too many plugins, and large scripts can also slow down WordPress.
Fix: Still, start with images because it is the highest ROI. Then review plugins, caching, and unused scripts.
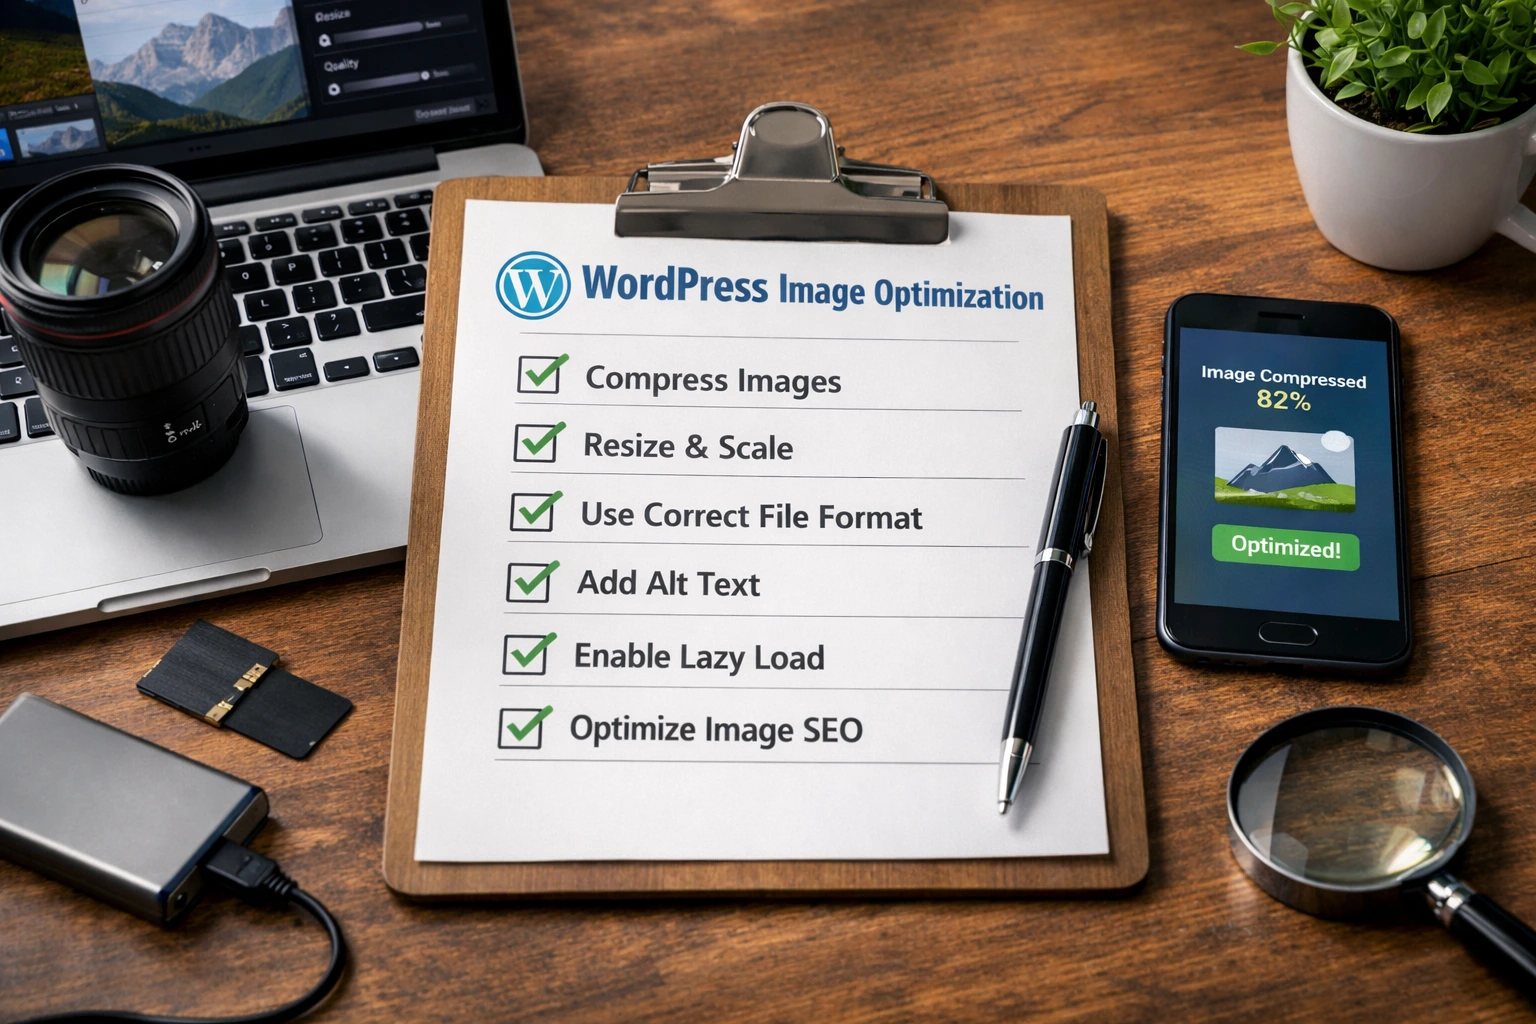
Image Optimization Concepts Explained Simply
What is image compression?
Image compression means reducing file size so it loads faster. It removes unnecessary data while trying to keep the image looking the same to the human eye.
Lossy vs lossless (simple difference)
Lossy compression removes more data and creates smaller files. It can reduce quality if pushed too far.
Lossless compression keeps quality the same but reduces size less. It is good for logos and some graphics.
DPI vs resolution
DPI is mostly relevant for printing. For websites, what matters is pixel dimensions and file size. A 300 DPI image can still be heavy if it has large pixel dimensions.
Resizing vs compressing
Resizing removes extra pixels. Compression reduces file weight. Best practice is resize first, compress second.
FAQs
1) Why is my WordPress website slow on mobile?
Mobile connections are often slower, and heavy images hurt more. Large hero images and uncompressed featured images are common causes.
2) What is a good image size for WordPress blog posts?
For many sites, 80KB to 200KB is a good target range. Resize to 900px to 1200px width when possible.
3) Should I upload PNG or JPG in WordPress?
Use JPG or WebP for photos. Use PNG only for transparency or logos. PNG photos are usually too heavy.
4) Is WebP good for SEO?
Yes. WebP can reduce file size while keeping quality. Smaller pages load faster, which supports better user experience and SEO.
5) Why do my images look blurry after compression?
Compression may be too strong, or the image is a text-heavy screenshot. Reduce compression slightly and re-export in a suitable format.
6) How do I compress images before uploading to WordPress?
Resize the image first, then compress it using MyImageCompressor, then upload the optimized file to WordPress.
7) My upload needs an exact size like 100KB. What should I do?
Use your targeted tool page like Compress image to 100KB. It helps meet strict upload limits.
8) Can I compress many images at once?
Yes. Use the Bulk Image Compressor when you have multiple images to optimize.
9) Does WordPress automatically optimize images?
WordPress creates different image sizes, but it does not always compress enough for performance. Pre-optimizing images gives better results.
10) Will image optimization alone make my site fast?
It is the biggest win for many sites, but not the only factor. After images, check caching, plugin bloat, and unused scripts.
Conclusion
If your WordPress website is slow, start with images. Resize them, compress them, and use the right formats. This improves speed, user experience, and often rankings too.
The easiest workflow is: resize first, compress second, then upload. You can do the compression quickly with MyImageCompressor. For multiple files, use the Bulk Image Compressor.